
How to Make a Woodworking Mallet
A wooden mallet is an essential tool in any woodshop and is something that I use almost every project. This easy woodworking project is something that every beginner woodworker should try.
If you like this video please click here to subscribe to my channel
Supplies:
Tools used During this video (affiliate):
Cut the Pieces for the Mallet Head

First I picked the wood that I wanted to use for the mallet head. I went with Padauk for the middle section and air dried walnut for the outside sections.

After getting the boards to manageable sizes I cut them to 2 1/2" wide on the table saw.

I moved the miter saw and cut all three pieces to 4 1/2" long.

Then I cut the piece that I will be using for the center of my mallet in half.
Cut the Handle to Size

I grabbed a scrap piece of hard maple and started cutting it to size for the handle. I cut the handle to 11 1/2" long on the miter saw.

Then I cut it to 1 1/2" wide on the table saw.

The thickness of the handle will be determined by the thickness of the wood that you are using for the middle section of the mallet. I used the middle section of the mallet head to set my fence the correct distance from the blade, then I made the thickness cut on the handle.

Cut the Shoulders and Slot on the Handle

Then I raised the blade on the table saw to 2 3/4" high. Using my universal tenon jig I cut the width of the blade off of each side of the wide part of the handle.


This will create shoulders and give the mallet head a stoping point when attaching it.

After marking my center point I lowered my blade about an eight of an inch, and aligned my fence. I then made a single cut for the slot that will accept the wedge.
Assemble the Mallet Head
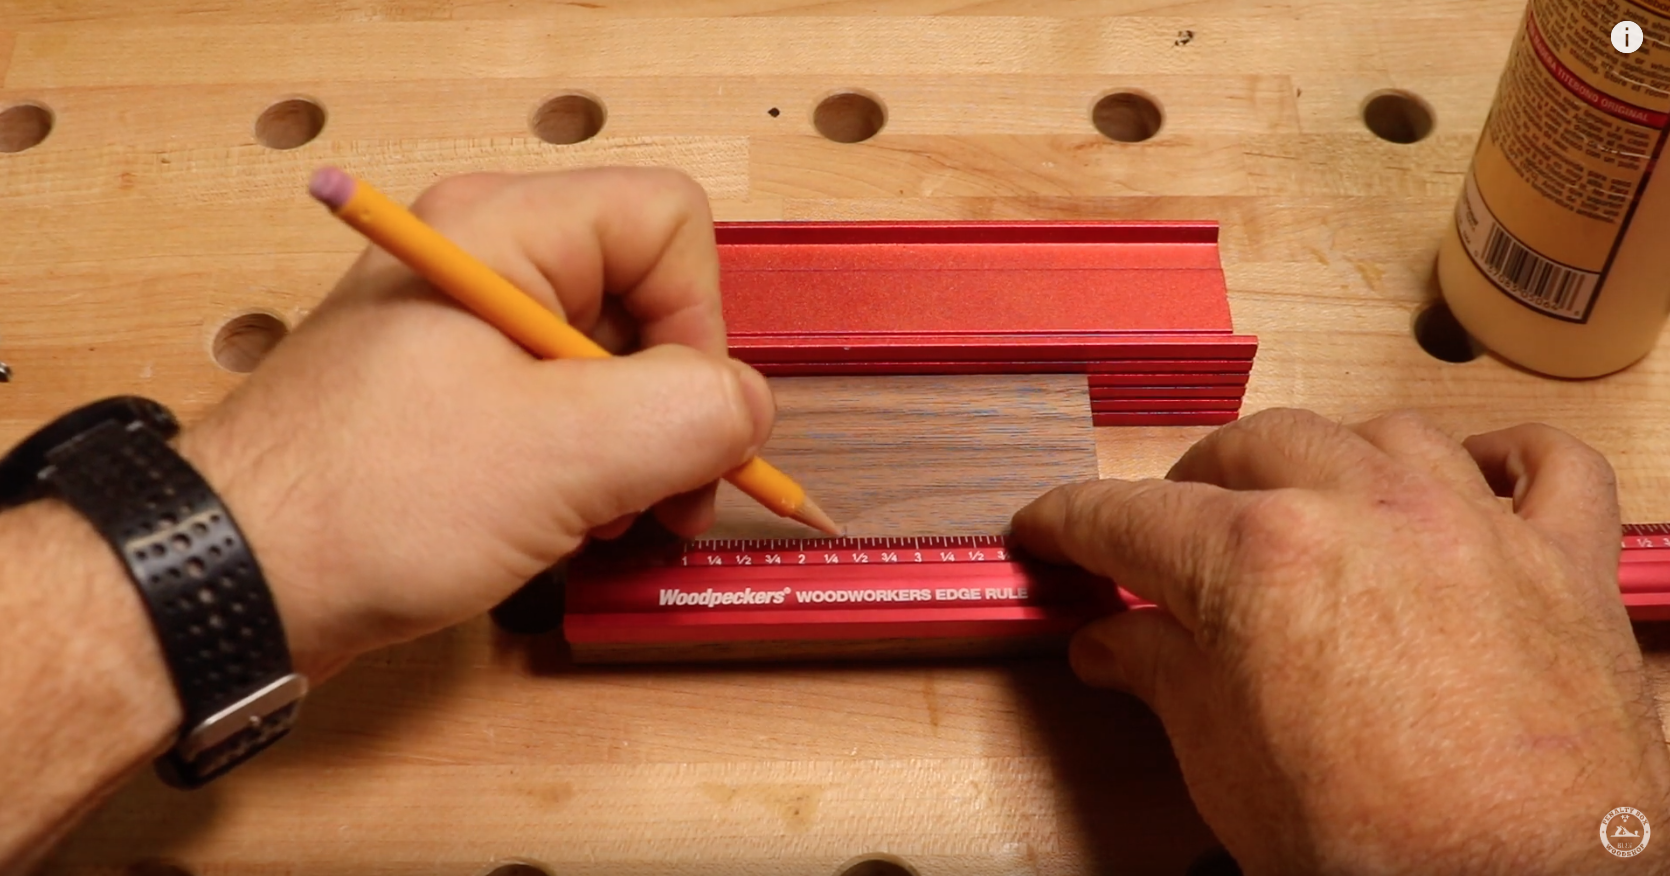
I marked the center on one of my outside pieces and aligned the slot of the handle with the center mark.

I marked one outside edge of the handle and using a square I continued the line the entire width of piece.

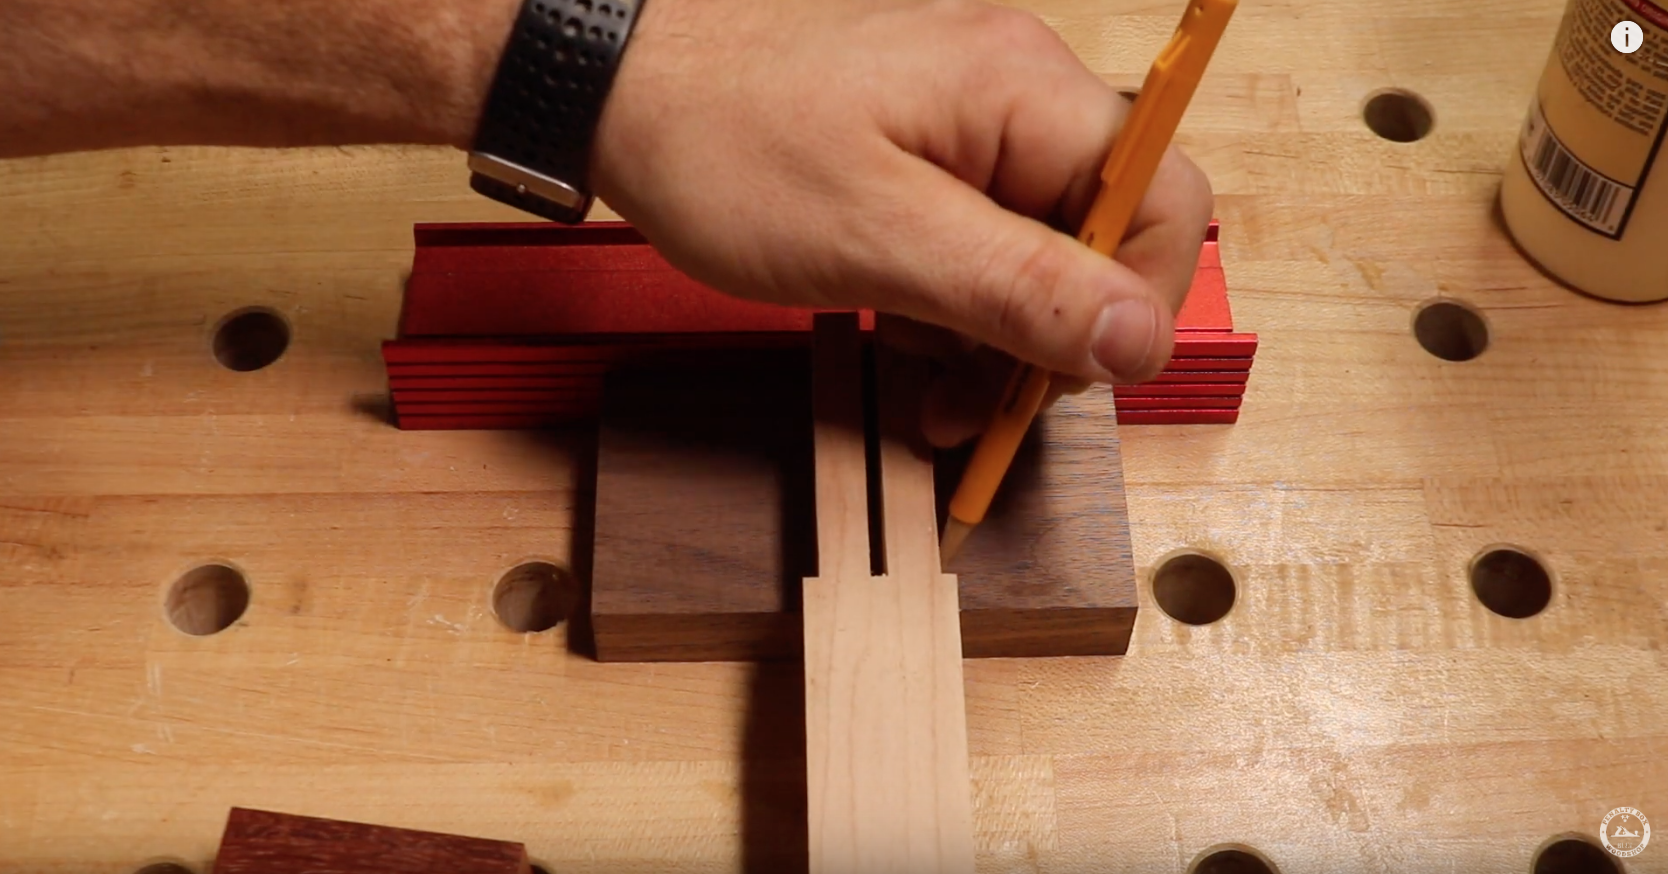
After applying glue, I wiped it away from the line to reduce squeeze out, and set one of the middle sections, that I had cut in half, in place making sure that the edge was flush with the line.

I used two small Brad nails to hold it in place for now.

Using the handle, I marked the line for the opposite side, applied glue, and attached the other middle section in the same manner making sure that it was tight against the handle before nailing it.


Place the Mallet Head in Clamps and Remove Excess Glue

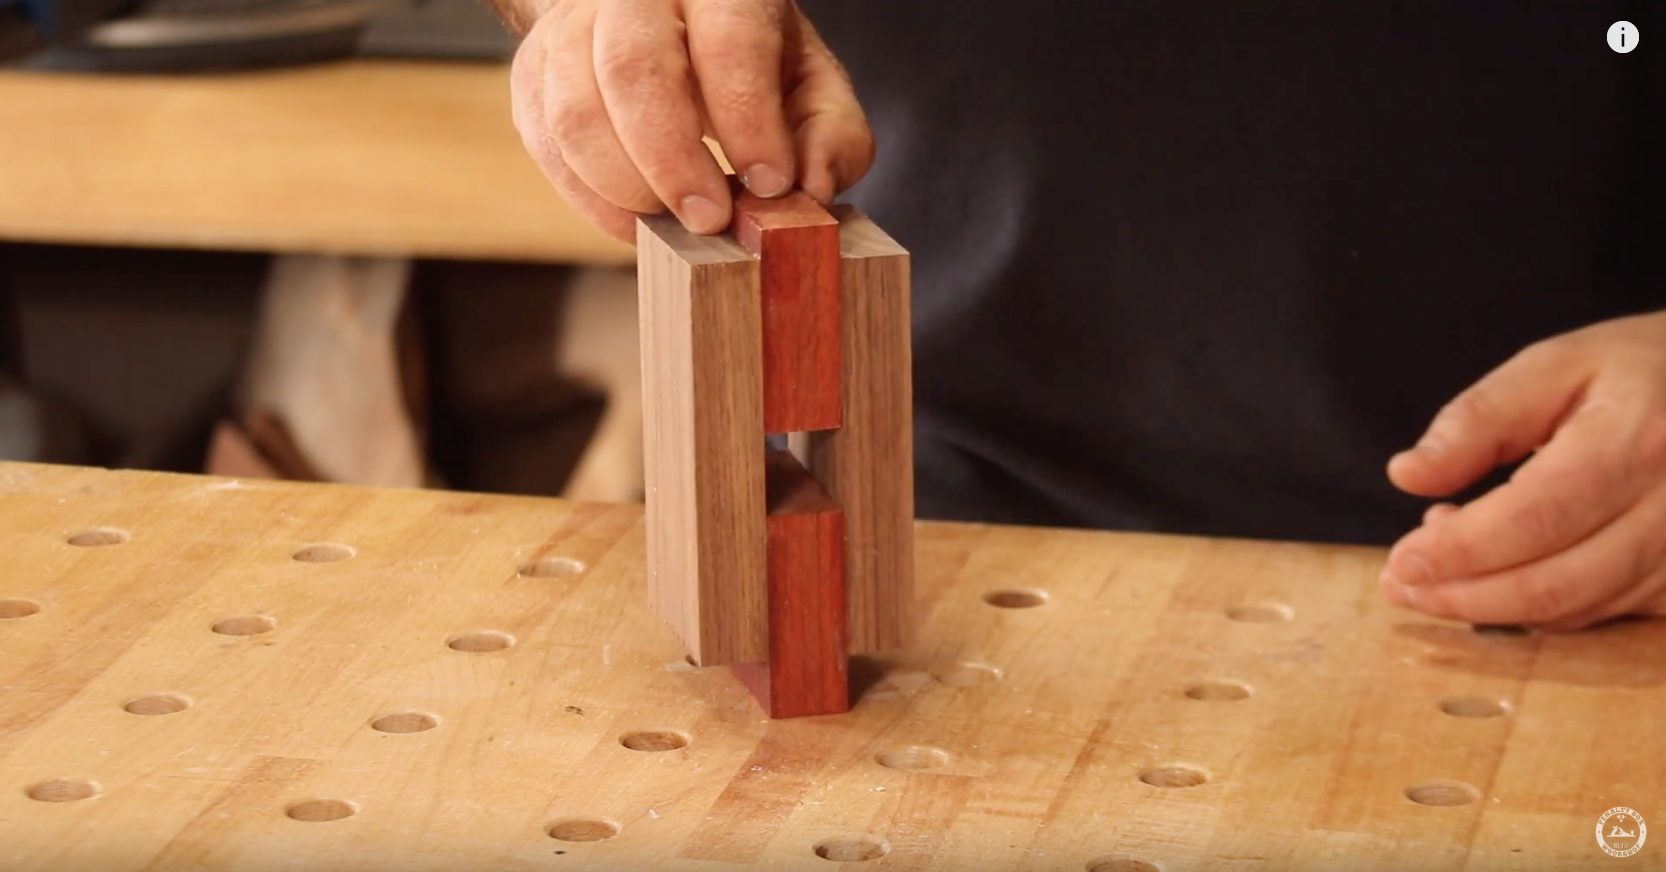
Then, I removed the handle, applied glue to the top side, and placed the other outside piece on top attempting to align it as best as possible.

After clamping the pieces I removed any excess glue.

Use a drinking straw to get the glue squeeze out in the hard to reach areas in the center of the mallet.
Remove From Clamps and Cut the Mallet Head Even

ITo insure my fingers stay safely away from the blade I always clamp the mallet head down to the miter saw before cutting.

I set the miter saw to cut a 5 degree angle and cut the mallet head sides flush. Measure each side from the edge of the mortise and ensure that each side is equal distance and trim as necessary.

I then used my belt sander clamped to my workbench to sand all sides of the mallet head until they were even.
Cut a Chamfer on the Mallet Head and Handle

I used a router table and chamfer bit to make a small chamfer on all edges of the mallet head. If you dont have a router you can use a hand plane or just break the edges with some hand sanding.

For all of my mallet handles I set up a stop block and stop the chamfer about 1" from the shoulders. This is just for looks and takes away any edges that would be uncomfortable when holding it. Again, you could simply break the edges with some sandpaper if you do not have a router table.
Assemble the Mallet

I placed painters tape on the handle just below the shoulders for easy cleanup of glue squeeze out and applied wood glue to the upper area.

With the handle in a vice I used a scrap piece of wood and tapped the head until it was flush with the shoulders.
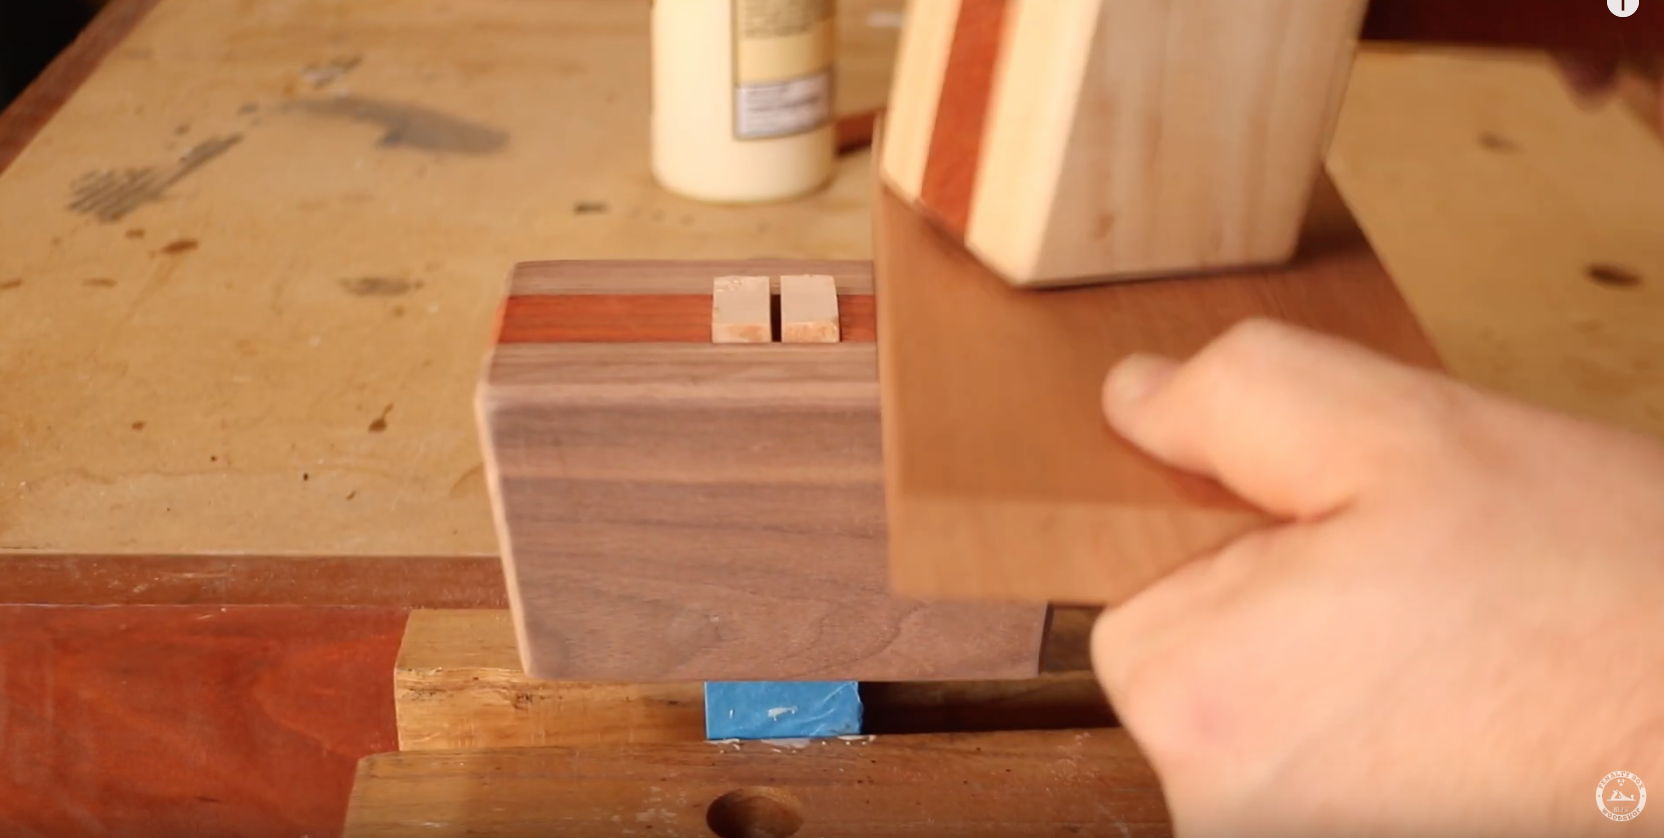
Cut and Install the Wedge


I set my miter saw to cut at a 3 degree angle and cut a wedge from the same type of wood as what I used for the center.
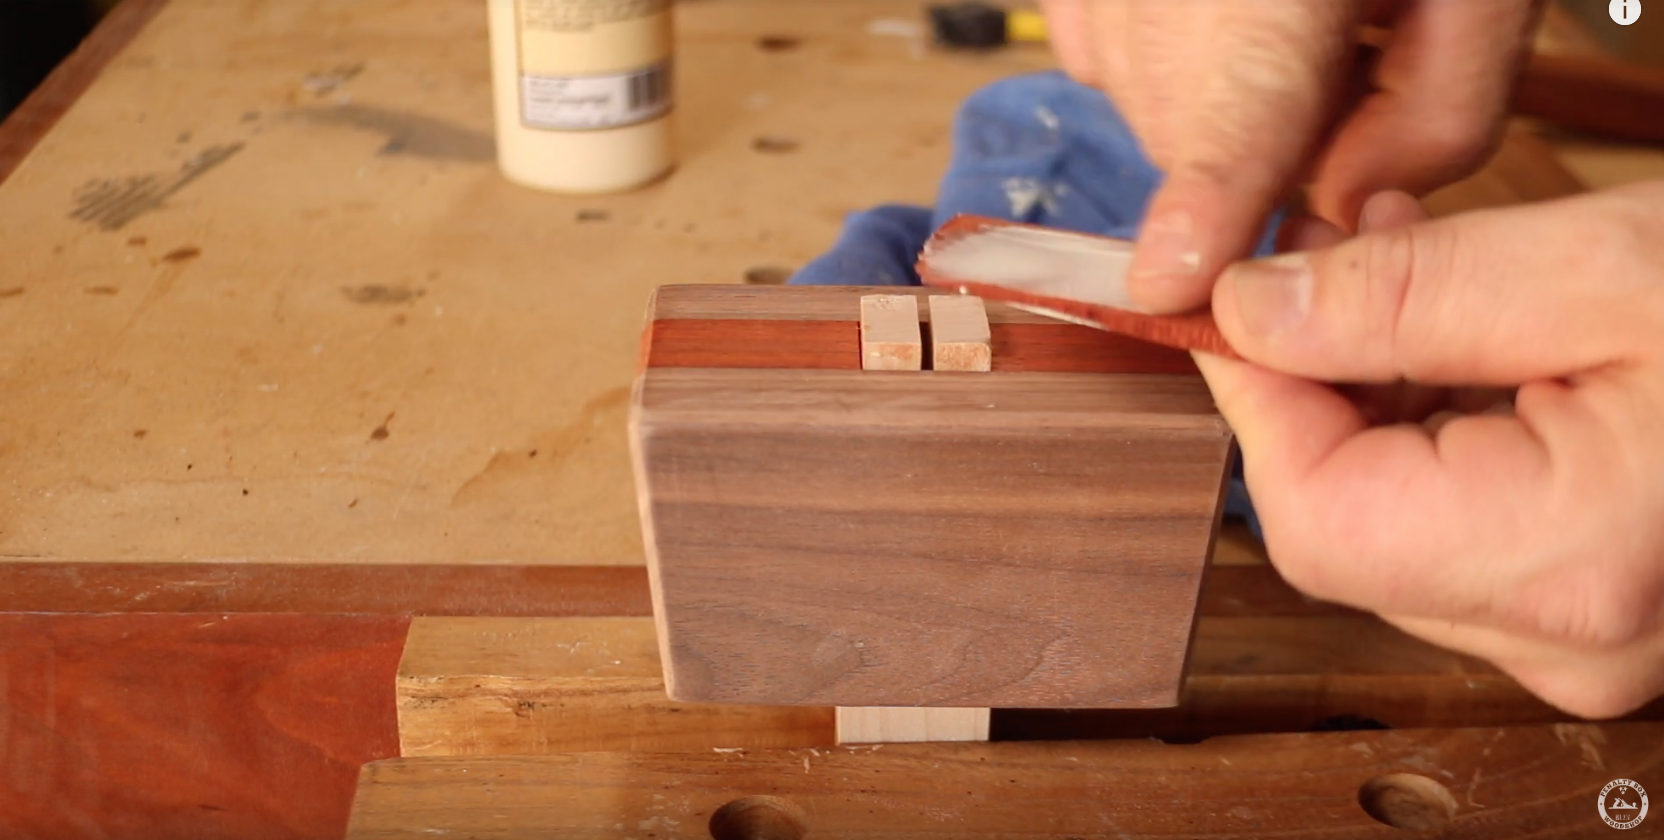


I applied glue to the wedge and tapped it until it would not advance any further.


After that I went back to the miter saw and carefully cut the proud handle and wedge flush with the top of the mallet.
Hand Sand and Finish


After hand sanding the mallet with 180 grit sandpaper I applied three coats of General Finishes Arm-R-Seal to finish it.
