
How to Make Easy Box Joints - Finger Joints
Box joints are an easy yet effective joinery method! Box joints, or sometimes referred to as finger joints, can be cut with a regular table saw blade or with a dado stack of your preferred width. The ones featured in the video are cut at 1/4" wide and were perfect for my current shop project, which will be a wall hanging router bit storage cabinet.
Supplies:
List of all my tools that I use
Tools Used during this build:
Setting Up Your Table Saw

To begin, install your blade of choice into your table saw. I will be using a dado stack to cut 1/4" wide fingers but you can cut whatever width fingers that is right for your project and if do not own a dado stack you can use your regular 1/8" blade to make 1/8" fingers.

Place your miter gauge in the slot of your table saw and select a scrap piece of wood for a backer.

Holding the backer against the miter gauge make one cut with your blade as shown in the photos above.

The exact placement of this cut on the backer is not overly critical but insure that the hight of the cut is greater than the width of the boards that you will be cutting the finger joints on.
Cutting the Stop for the Jig


Using a bandsaw (which would be the safest tool), table saw or miter saw cut a piece of wood that is slightly shorter than your cut, fits tightly in the slot, and is long enough to protrude from the backer at least 3/4" when fit in place.


Also, insure that when the stop is in place that it is flush at the bottom of the backer.

Once you have the correct fit, cut two stops the exact same size.
Assemble the Jig

Using CA glue and an accelerator (only makes the glue dry faster), glue the stop in place with it flush to the bottom and back side of the backer


Use some sandpaper to sand the bottom a little to insure that it is flush and smooth with the bottom.

Place the backer flush to the miter gauge and then slide the stop towards the blade. Place the second stop, that you cut at the bandsaw, in between the attached stop and the blade using the second one as a spacer. Please refer to the pics above as a visual reference for this installation.
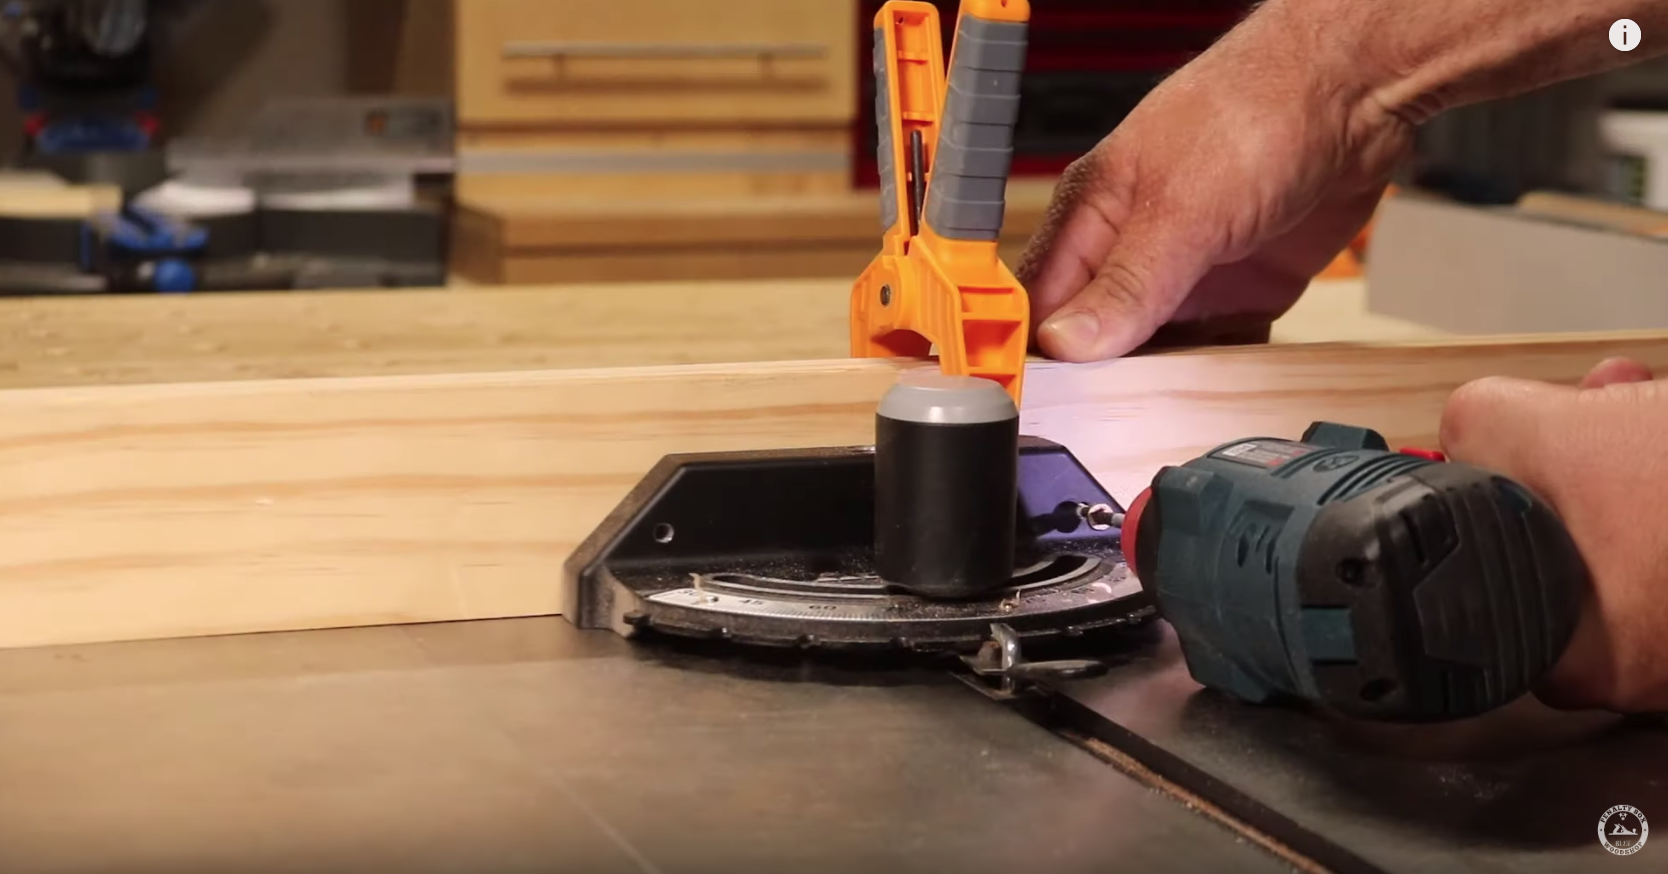

Once the backer is in place, clamp it to the miter gauge, and then screw it in place from behind.
Set Your Depth of Cut and Cut the First Board
Now that your jig is set up, set the height of your blade to just higher than the thickness of the wood that you will be cutting. At this point I highly recommend making a test joint on scrap pieces of wood of the same thickness as what your using for your project. It's possible that the backer may need some slight adjustments to insure that the joint is the proper fit. The adjustments can be made by loosening the screws holding the backer to the miter gauge and making slight shifts closer or further aways from the blade.

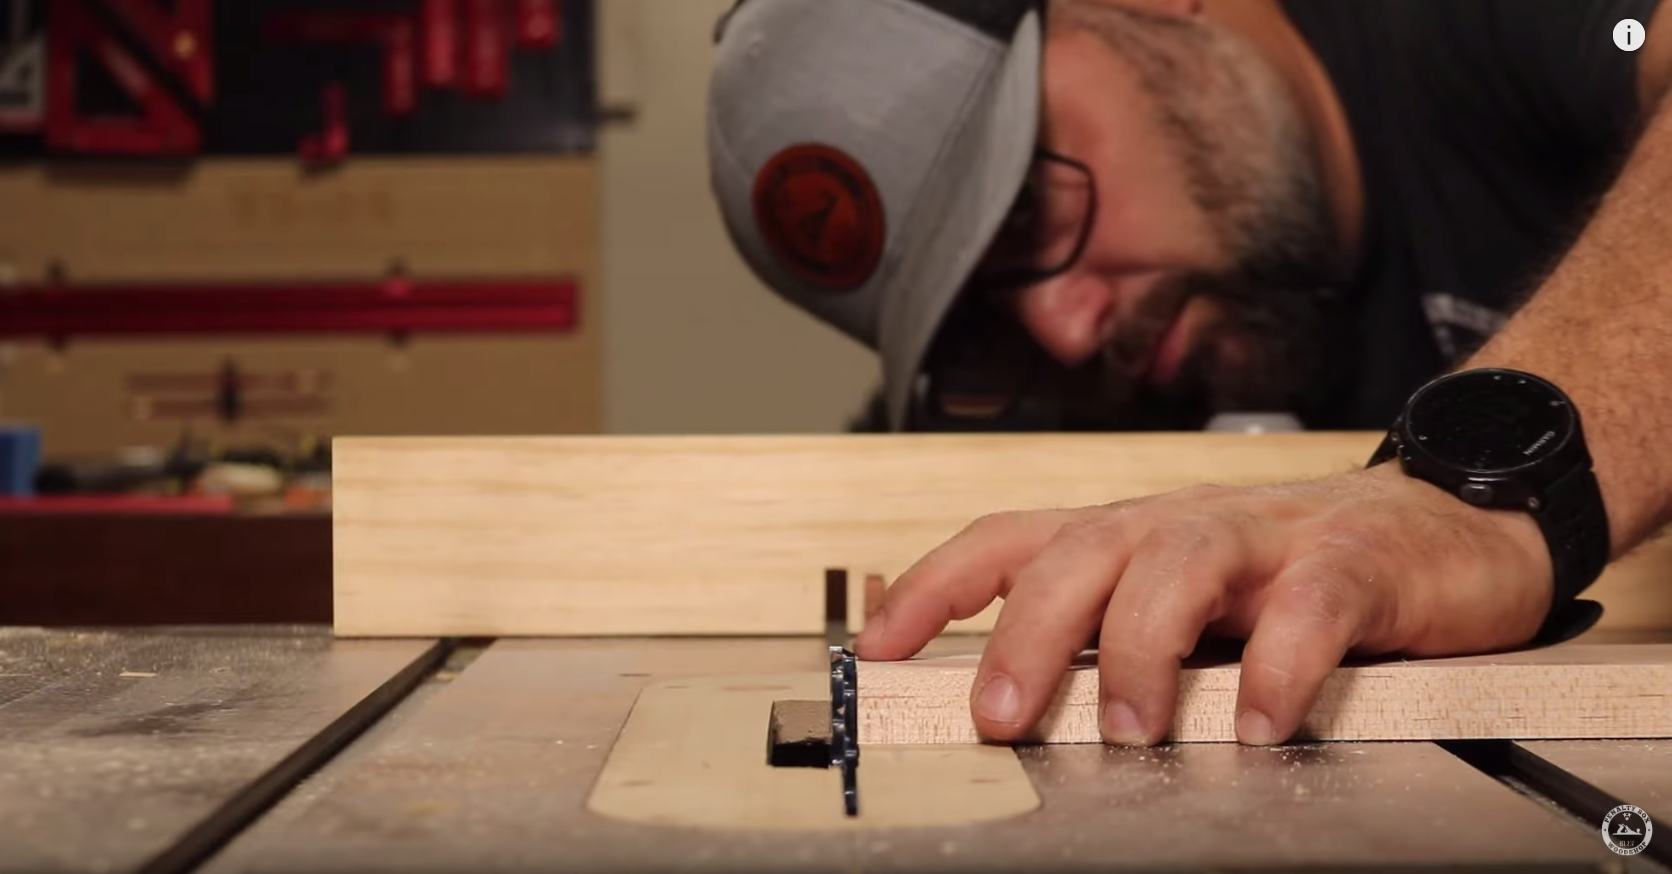
To start the cuts for the joint, place your first board vertically against the backer and the edge flush to the stop and clamp it in place.

With your hands and fingers safely away from the blade, make the first cut.

Then, unclamp the board and slide the slot that you just cut on to the stop.

Now you can clamp the board in place and make your second cut. Repeat this process until you reach the opposite edge of the board.


Once you have reach the edge of the board, the last cut will most likely not be a full blades length and this is okay. Unclamp the board and flip it so that the face that was pointed towards the blade is now against the backer and your first cut is slide into the slot.
Cut the Second Board for the Joint

Next, place the second board for your joint, flush against the first one and clamp it in place. When you make this cut, the blade will most likely cut into both pieces.

After making this cut remove the first board and slide the second one flush against the stop.

Make this cut and then continue to make cuts until you reach the opposite edge. Do not flip this board once you reach the end and make the last cut even if it cuts less than the blades width.
Assemble Your Joint!

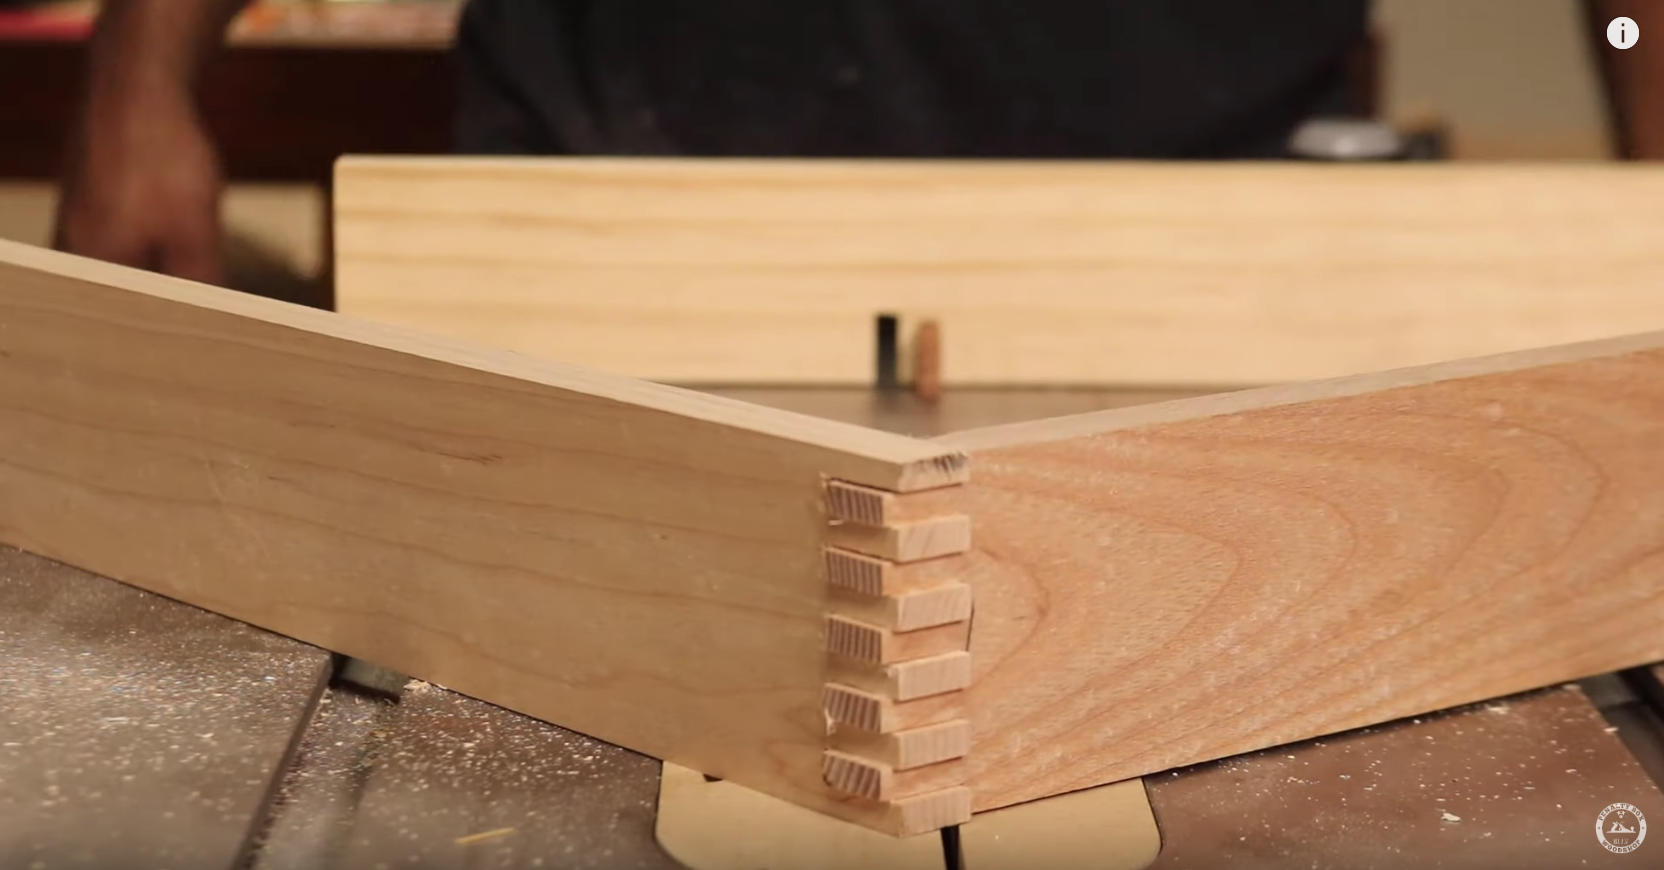
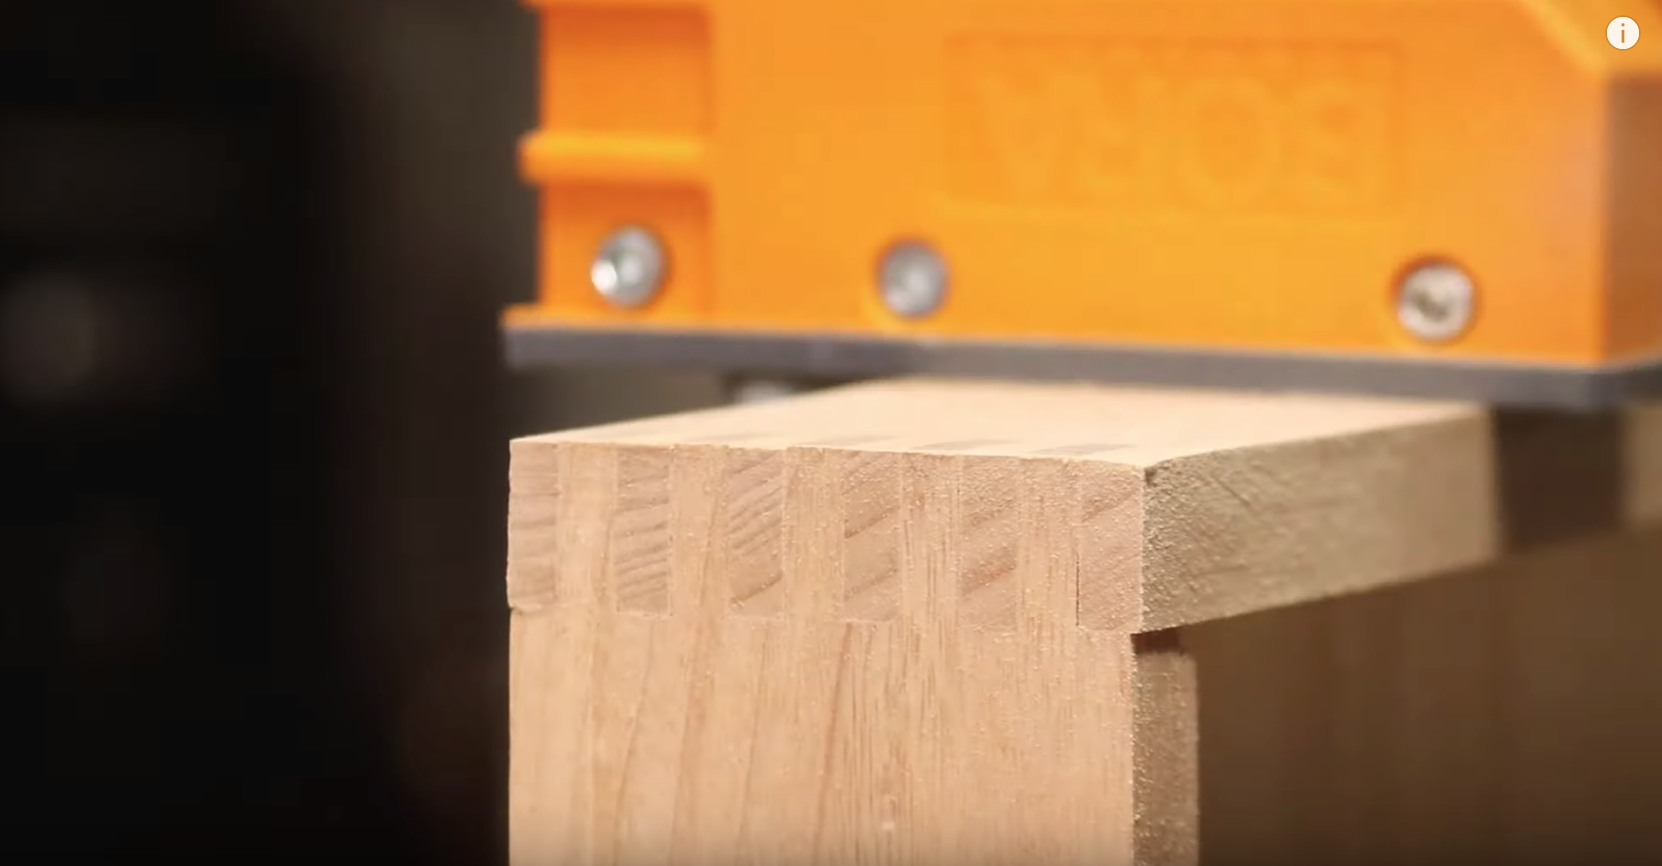
Now your finger joint is complete and can be assembled. Since you set your blade to cut higher than the depth of the boards the fingers will be proud of the surface.


This is a good thing and is a much easier than trying to cut them at the exact depth. If you try to get them the perfect hight you risk being slightly under cut and having to redo the cuts. If you leave them proud they can easily but flush cut and sanded to flush for a great fit every time.
These joints are can be used in numerous applications and projects and are one of my favorite joints for quick and easy boxes and display cases.
Please refer to the video attached to this blog for more details on these cuts.