
How to Make a Charcuterie Board
Hey folks, Im Jesse with Penalty Box Woodshop and Im going to show you how I turned some scrap walnut into a beautiful charcuterie board. A charcuterie board is used to display and serve meats and cheese at social gatherings and events. Its basically a really nice serving tray! You can easily complete this project in one day and Im going to show you each step that I took to make it.
Before we get started please click here to subscribe to my YouTube channel for more projects.
Pick out a Hardwood

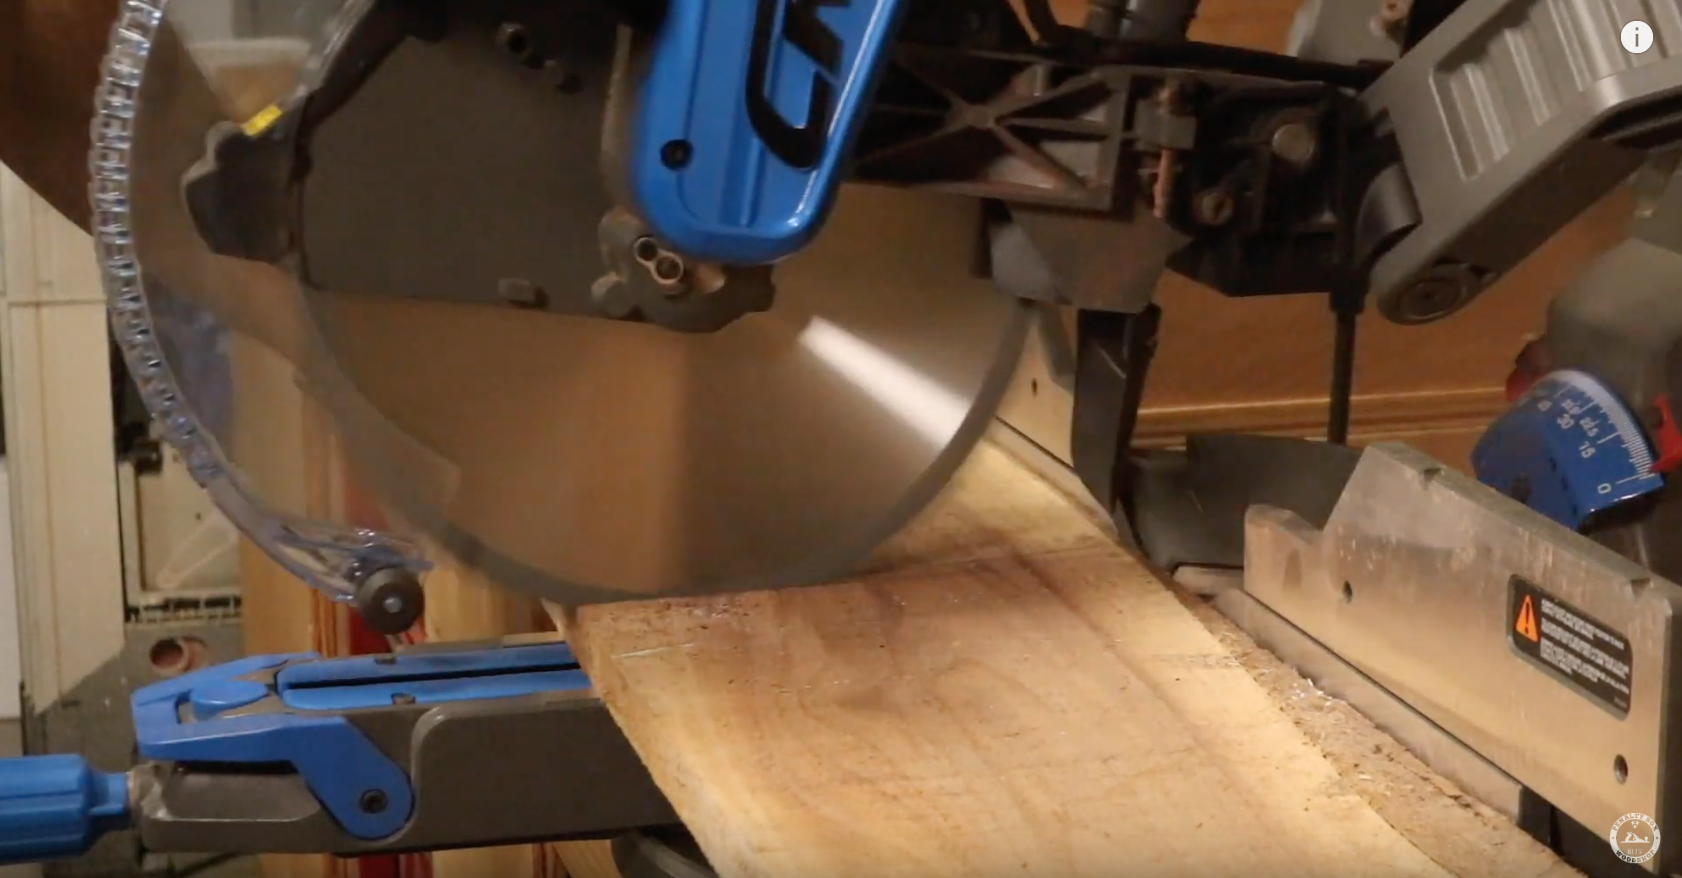
A while back I was given a stack of air dried walnut that had been stored outdoors for some time. There were a lot of good boards in the stack but a few had live edges, worm holes, and were just not suited for some projects. But, one thing they were perfect for was a charcuterie board. I cleaned the live edges up with a chisel and cut the board to about 34 inches.
For a project like this one, any type of hardwood will do just fine. The size of your charcuterie board is completely up to you and can be customized to fit anyones needs.

This board needed to be flattened and it was too wide for my jointer so I used my planer sled, some shims and my planer. If you don’t have a planer you can use a router and a router sled or even just a hand plane to flatten your board if it needs it. And if it doesn’t, well I guess you get to skip these first few steps.

Fill Any Holes or Voids in the Wood

After it was nice and flat on both sides I used some epoxy and hazelnut colored tint to fill all of the worm holes. There were a lot of them but I think it just adds some character to the board. After the epoxy was cured I removed the excess with my planer. You could choose to leave the holes or voids in the board but I was worried that food and other things would get stuck in the crevasses. Also, Hazelnut tint is typically my go to color with walnut but they make epoxy tint in just about every color under the sun.

Design and Cut Out Your Handle
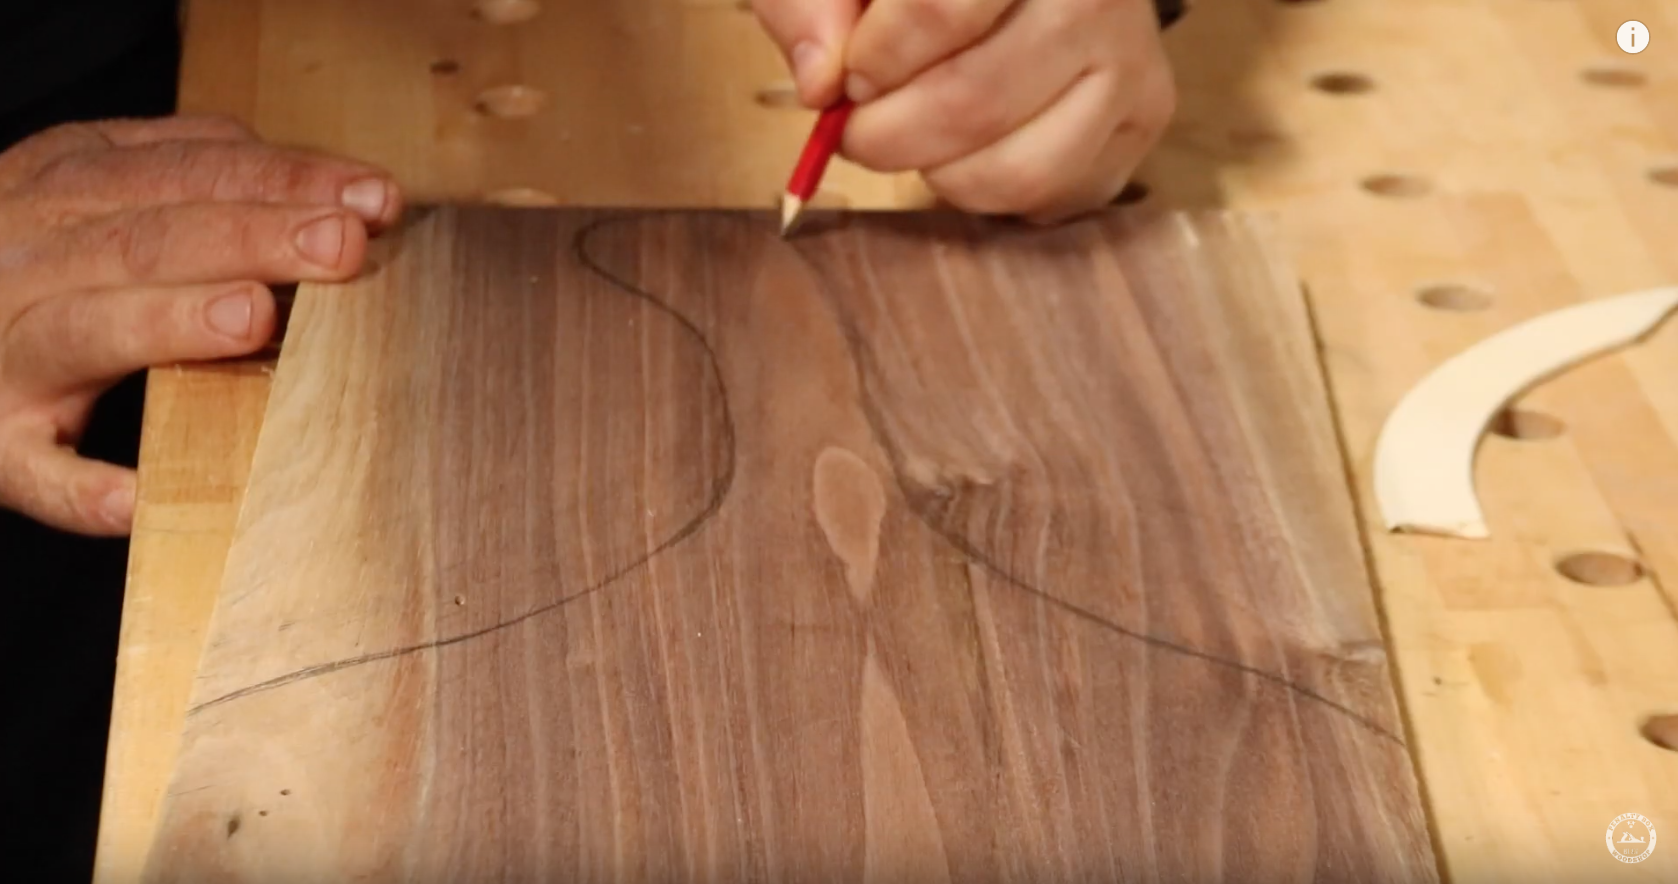
Next, I began to lay out the handle for the board. The design and shape is completely up to you and you can be as creative as you want with this. I used some circle cutoffs from another project to help me with the lines and I used one of my table saw push stick handles to trace a comfortable width for the handle of the board.

After a few adjustments I liked the shape that I had come up with. I clamped the board to my bench and used my cordless jigsaw to cut the handle. It was pretty simple and I wasn’t very worried about being exactly on my lines for this.
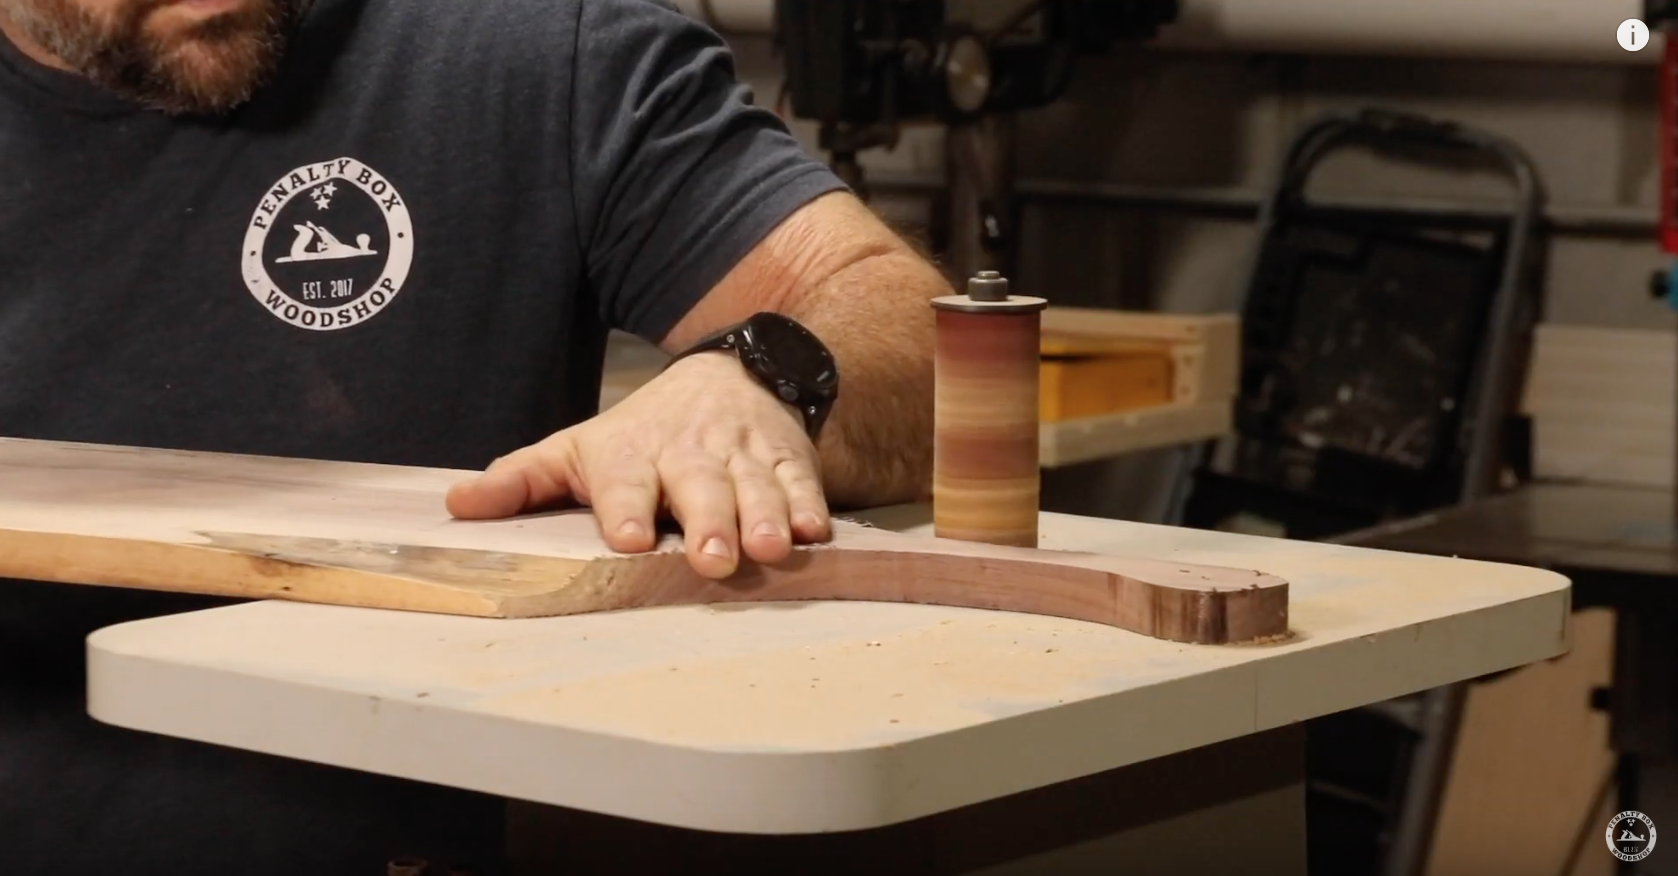
I got out my spindle sander and smoothed out all the edges and rounded parts. If you do not have spindle sander then you can easily use a palm sander to do this.
Drill a Hole in the Handle

Over at the drill press I used a forester bit to drill a hole in the handle. Ive seen these thumb holes on other boards and thought they were a nice touch. Also, I figured it would be a good way to hang it for storage once it was completed.

With my cordless router I then broke all the edges with a slight chamfer with exception of the live edges.
Sand the Live Edge

For the live edge, I got out one of my sanders and used a low grit sandpaper to clean them up and ensure all of the bark and sharp edges were gone.

That opened up a few more worm holes so I had to bust out the epoxy one last time to fill them.

Once that epoxy cured I sanded the entire board staring at 80 grit and stopping at 180 grit.
Wet the Board and Sand to Final

I used a spray bottle and sprayed all sides of the board with water. This will raise the grain before the final sanding and ensure that the board stays smooth once after its been used and cleaned.
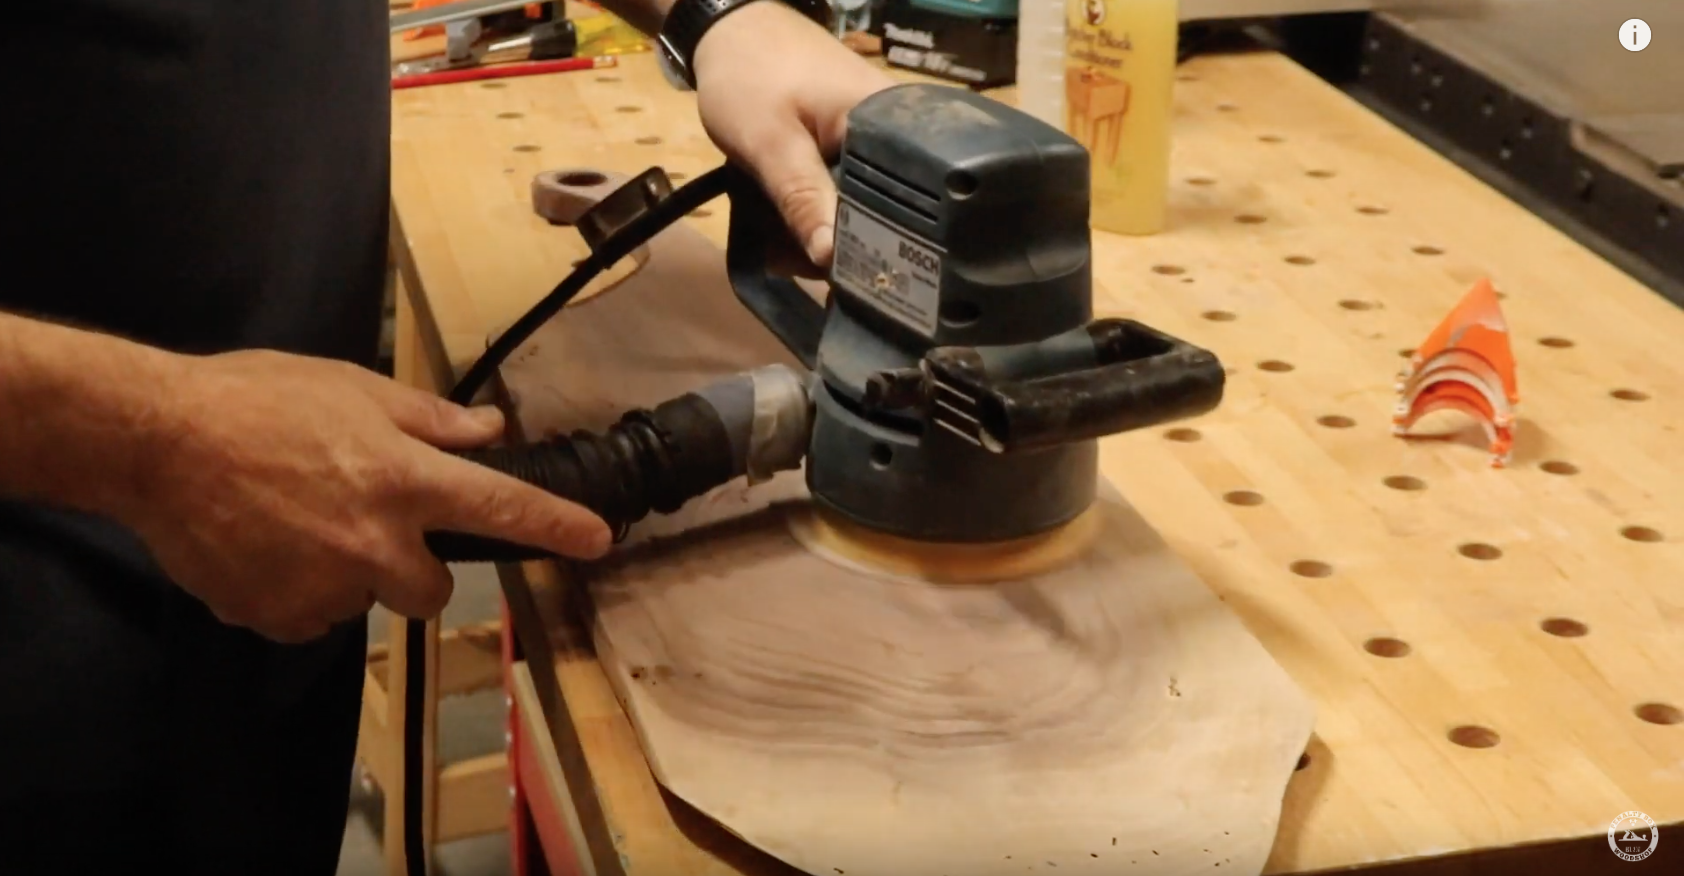
Once it dried, I sanded it with 220 grit and make sure you don’t forget to sand your edges on this step.
Apply a Natural Finish and Enjoy!

Now for my favorite part, the finish. I use an all natural finish like Howards and Walrus oil or you can make your own like my buddy Matt with MWA Woodworks does.

I applied the first coat and let it dry for a few hours before wiping the excess off. I let that dry and applied a second coat just because this walnut really soaked up the first coat.

After the second coat dried I used a shop rag to buff it out to a nice sheen and this board is ready for some meat and cheese!