
How to Make a Modern Style Coat Rack
This set of plans will show you each step to making a modern style piano hinge coat rack. The only thing you need is one piece of wood (species of your choice) and a 3/8” dowel. Below you will find the exact dimensions and cut list that I used for this build. I will say that this one was hard to explain in each step so please watch the video in order to gain a better understanding of my explanations and feel free to leave any questions in the comment section below, I will be sure to get to them all.
If you like this video please click here to subscribe to my channel!
You can check out my website for more great stuff!
1 - 24” Long x 6” Wide x 1 1/4” Thick board
Cut into alternating 1” and 2” wide sections.
All 1" sections will need a 45 degree bevel on both ends Mark hole placement as shown in the video and drill a 3/8' hole through all 1" and 2" pieces using a stop block and a drill press for accuracy.
1 - 3/8” dowel approx 30” long
Full list of the tools that I use
Tools:
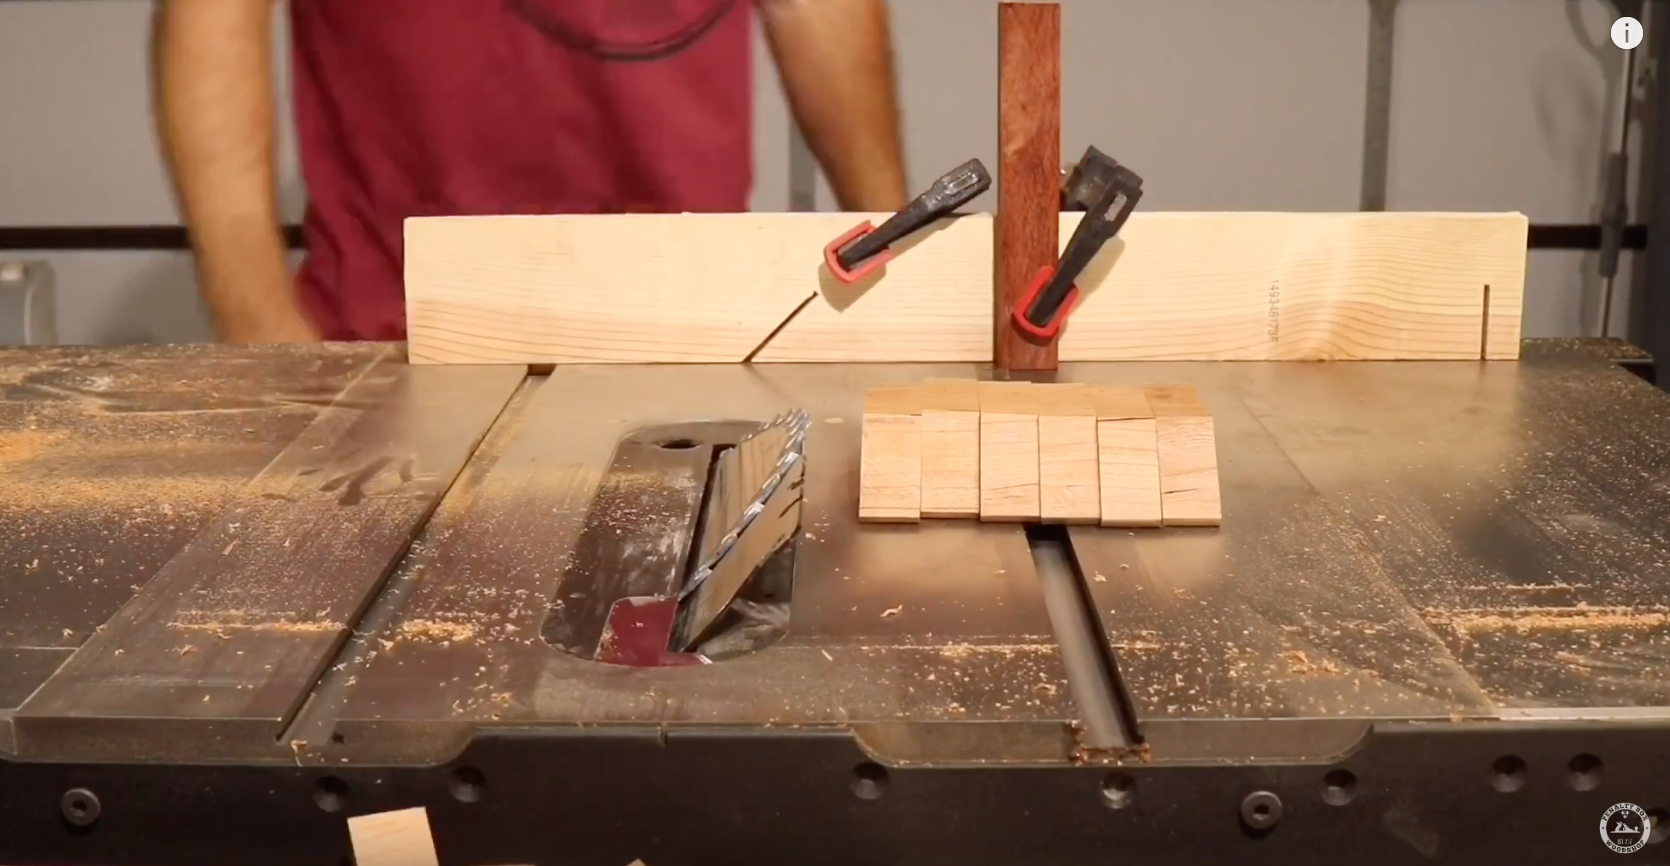
Select Your Board and Cut Into 1" and 2" Pieces

For this project I used one piece of Cherry that was 4” Long x 6” Wide x 1 1/4” thick


Using a little self made jig on my table saw I cut the board into alternating 1” and 2” wide sections.


Alternating the cuts will insure that your wood grain continues across the board.

Cut a 45 Degree Angles on the 1" Pieces

All 1" sections will need a 45 degree bevel on both ends.

Using a miter gauge, sacrificial fence, and a stop block on my table saw made these cuts uniform and safe. Clamping the pieces to the fence kept my fingers safely away from the blade.

Arrange the 1" and 2" Pieces in Order and Mark

Next I arranged all the pieces so that they were in the correct order as when I cut them


At this point it is a good idea to number the pieces and designate which end will be the bottom. Clearly mark each using a pencil or chalk.

I clamped all the pieces together on my workbench and cut a chamfer along all four sides. This is for looks only and is not required.

I chose to do this after all the cuts were completed because I wanted the chamfers to be consistent on all the pieces. I was concerned that if I did it before the board was cut then the chamfers would not be the same on the 1" pieces that needed 45 degree bevels.
Measure and Mark for Hole Placement

Then, I placed a 1" section on top of a 2" section and insured that the top and bottom were even and aligned. I made a mark on the 2" section where the 45 degree edge of the top section was.

Leaving the top corner of the 45 in the same place, I rotated the 1" section to the position shown in the second photograph above. This will simulate the 1" section in the open position.

Then, I marked a line along the top edge of the 1" section. This line should form a sort of V shape with the first line.

I used my combination square to mark a line from where the two lines formed the V and another one at the midway point.


I used a screwdriver and my mallet to punch a hole in the exact spot that I wanted to drill for the dowel.
Drill 3/8" Hole in All Pieces
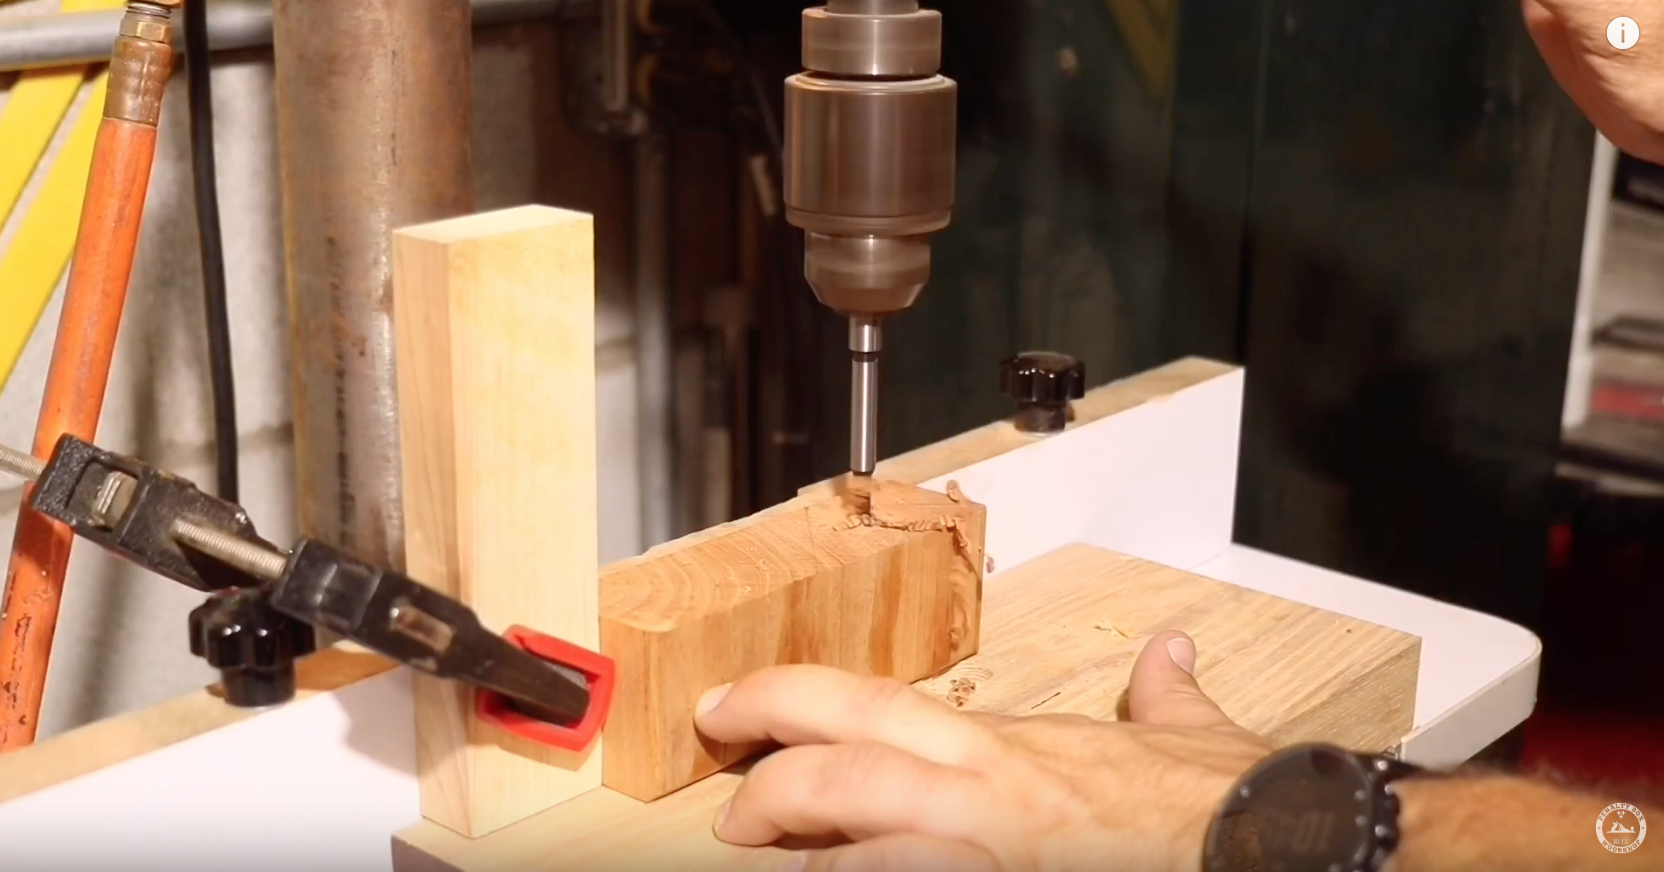
I set up a backer and stop block on my drill press and inserted a 3/8" forstner bit for drilling the holes

I drilled the hole through my first section that was previously marked.

Then, I drilled a hole through all of the remaining pieces ensuring that they were properly positioned on the backer and stop block.

Using this method made sure that the placement of the holes were in the same spot on every 1" and 2" section. If you are not able to set up a stop block then you will need to mark each piece as you did in the previous step.
Slide Each Section on the Dowel

After I was done at the drill press I clamped a 3/8" dowel into my workbench vice and began sliding the sections into place.

Be sure that each piece is in order and using wax on the dowel helps to reduce the friction and makes it easier to get the first few on.

Place Plugs in Each End
Once they were all on I used a clamp to hold them all tightly together and flush cut the dowel on both ends. Be sure to leave the clamp in place through the next few steps.


Using a 3/8" drill bit I drilled out about a 1/2" of the dowel on each side.

Using a plug cutter on my drill press I cut two plugs from the same cherry that I was using on this project.


After applying glue I hammered the plugs into place on both sides and then placed a second clamp over both plugs and applied pressure.


I left the clamps in place until the glue had dried completely.
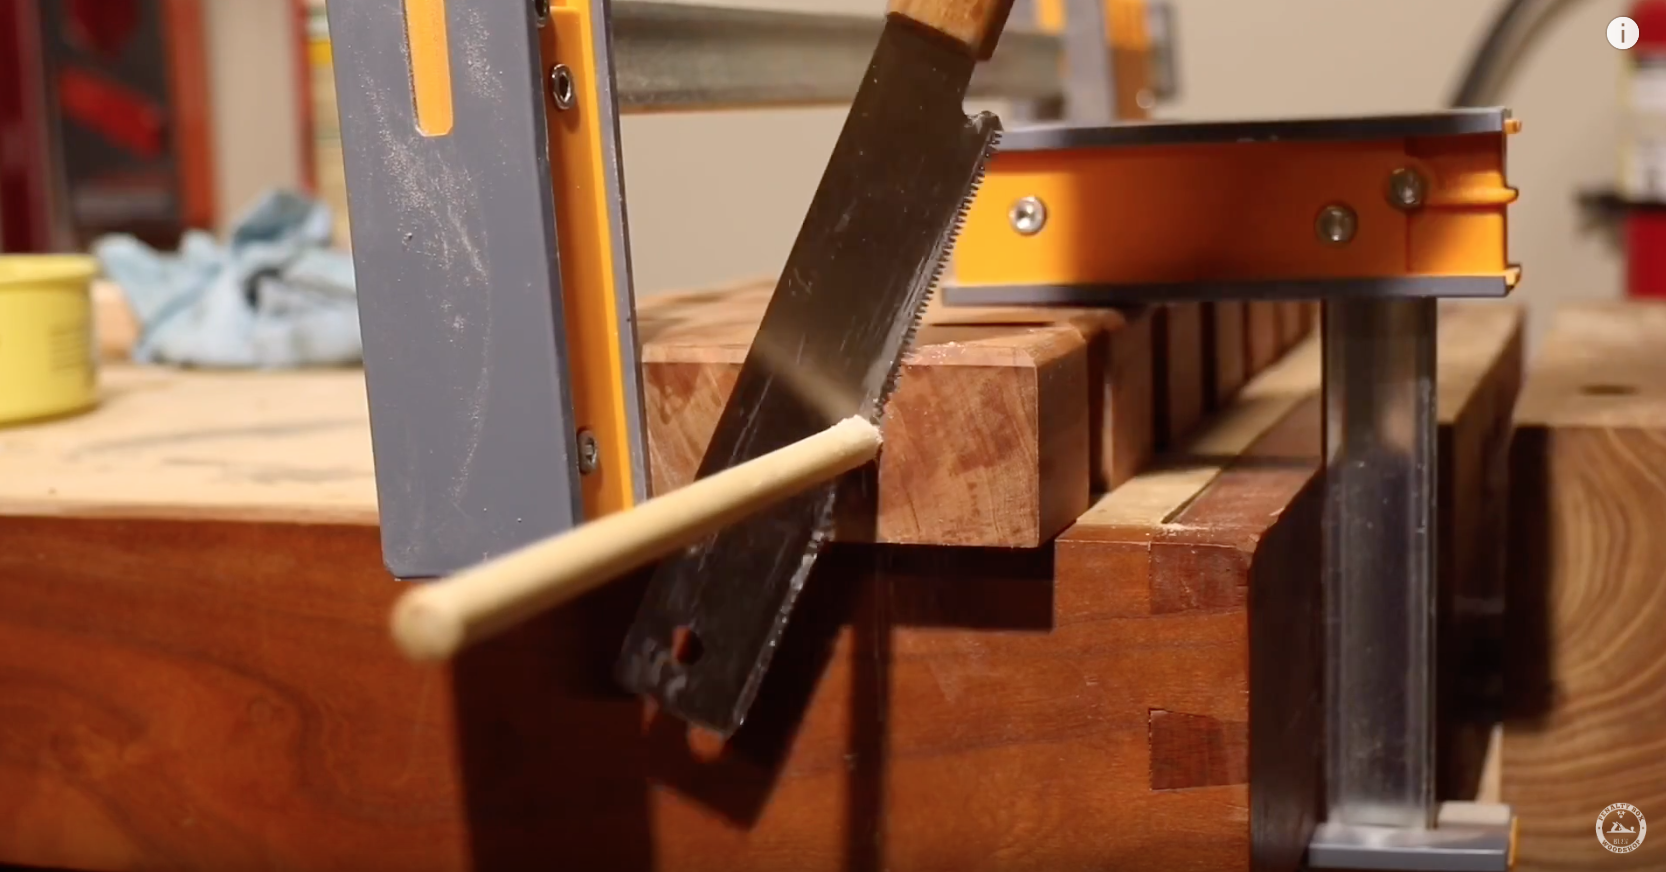
Remove the Clamps and Flush Cut the Plugs

Once the clamps were removed I used a flush cut saw to cut the plugs flush then I tested out the coat rack while it was laying flat on my work surface.


The placement of the dowel created the perfect pivot point for the 1" sections and it worked as planned.

Cut Key Holes to Hang the Coat Rack

There are a few other ways that you could hang this coat rack but I decided to go with keyholes.
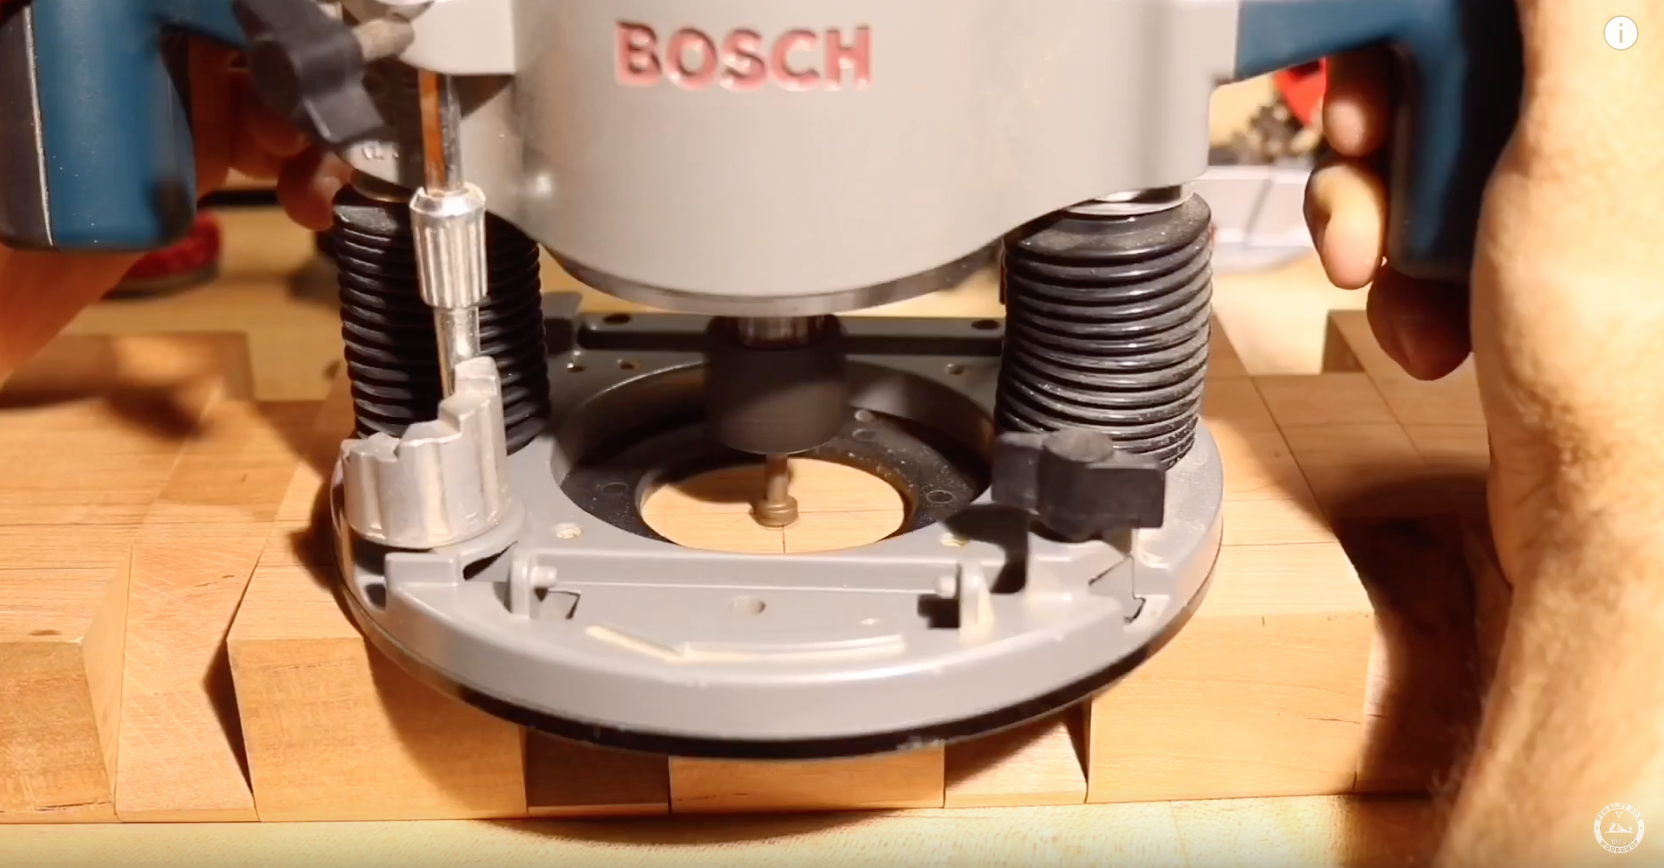
On the upper back of the coat rack I used my square to make two parallel lines about 1/2" a part. Then, one the two most outside sections, and on the middle section, I made another mark from the opposite direction from line to line.

As shown in the video, I used these lines as a guide when cutting my keyholes to insure that they were all equally aligned.

Finish and Hang the Coat Rack

For this project I just used some simple poly from a rattle can and after sanding I applied three coats to the cherry.

I measured and placed three screws into the wall to correlate with my keyholes and then hung the coat rack. Although the pieces are tight enough that they do not move, the wall will help keep them all aligned over time.

At the time that Im writing this planthis coat rack has been in use at my house for over a year. It gets daily use and usually has several things hanging from it no matter what time of year that it is. Its has held up perfectly and was a great addition to our home!

If you want to see more woodworking and DIY videos then please Subscribe to my channel