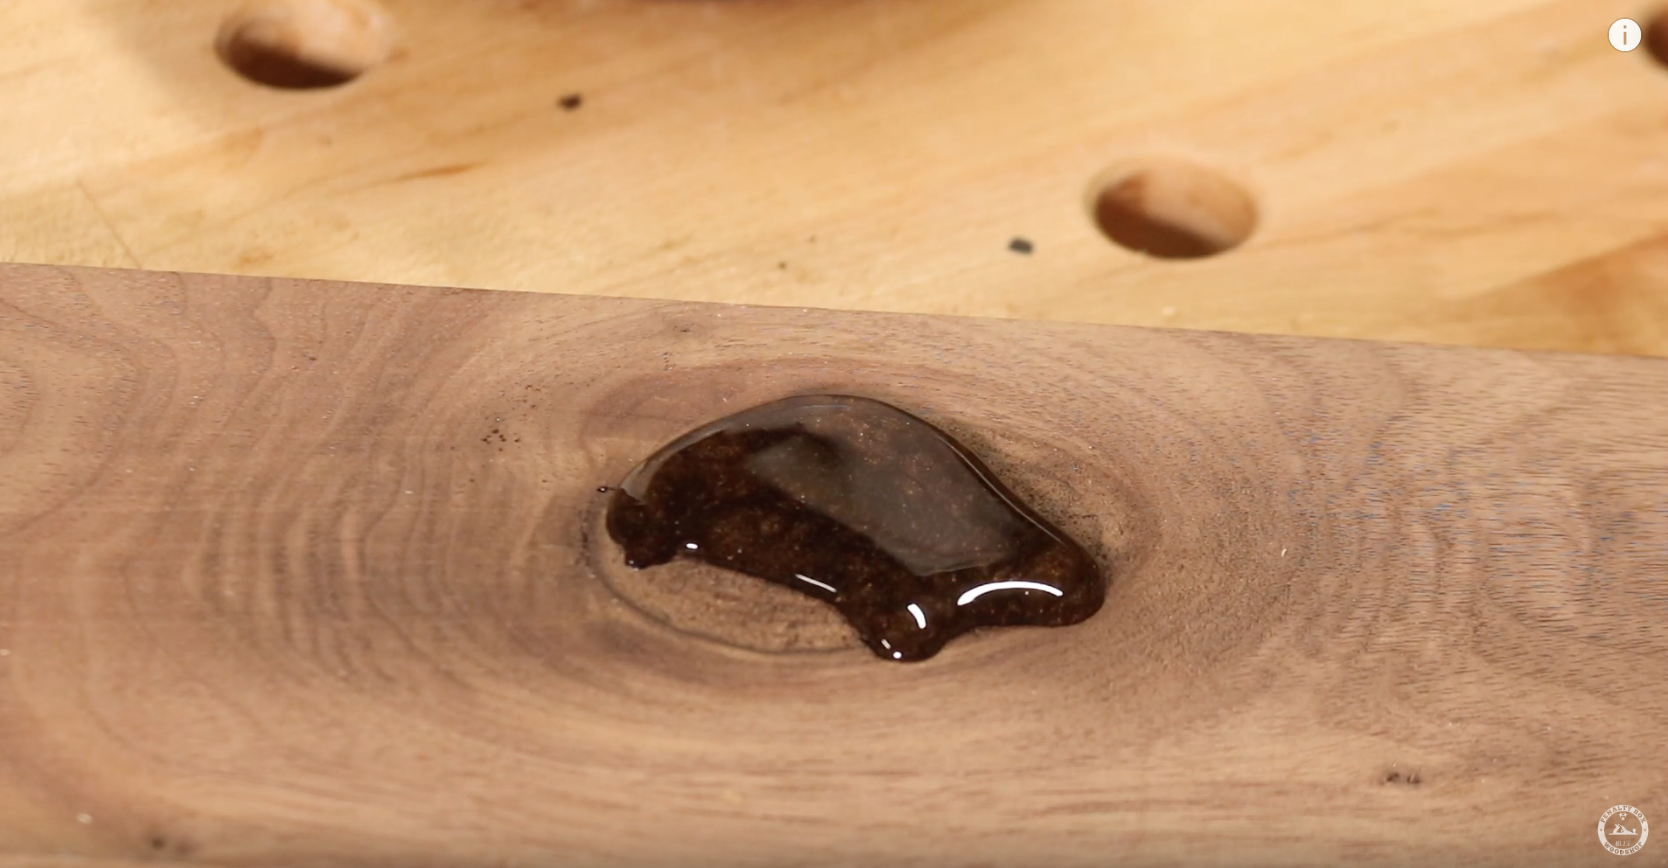
Fixing Knots and Voids with Epoxy
In this tutorial/video I demonstrate how fixing knots in wood with epoxy is an easy and quick process. Epoxy has a place in every woodshop and it can be a handy multitasker. It is important to add that with the particular epoxy that Im using, you need to pour it in layers no more than 1/4" deep when filling large voids. Wait for each layer to cure before pouring the next one on top. This will prevent overheating and cracking of the epoxy. Feel free to ask questions in the comments section and let me know what you think of the video.
Before we get started please click here to subscribe to my YouTube channel for more projects.
Tools and products used in this video:
Inspect the Void and Seal One Side With Tape
First identify the knot or void that you want to fill with the epoxy. Check to see if the void goes all the way through the board.
Sometimes this might not be as obvious as the void that Im filling in the video, you might have to inspect the area carefully.
Using painters tape seal off one side of the void so that the epoxy will not seep through and leak once its poured. Don't be shy with the tape!
Mix and Tint Your Epoxy
There are many types of epoxy out there bu Im using Totalboat 2:1 ratio epoxy. I like these dispensers because the pumps make it so that it is equal pumps for epoxy resin to the hardner when mixing it. So, for example, if you use three pumps of resin you just add in three pumps of hardner instead of having to make sure you use the 2:1 ratio.
You can choose to leave your epoxy clear or you can add some tinted color to it. I like this Hazelnut color by Blackdiamond Pigment for walnut because it blends in with the color of the board really well once the epoxy is cured. It only takes a small amount of pigment to add a lot of color to the epoxy so a small canister of this stuff will last you quite a while.
Add the pigment to the epoxy and hardner then mix for three to four minutes or according to the directions of the epoxy that you are using.
Pour the Epoxy and Fill the Void
Once your epoxy is mixed well, slowly pour the epoxy in the void area until it is slightly over filled. Wait several minutes to insure that the epoxy does not lower below the surface.
Sometimes it can take a few minutes for the epoxy to seep into all the little cracks and voids inside the larger area which may require you to add more so that the level stays slightly above the surface.
Remove the Tape and Smooth the Area
Once the epoxy is fully cured (time may vary) you can remove the tape from the other side.
Using a hand plane or card scraper remove the excess epoxy so that it is flat with your surface.
If you have a thickness planer you can use a hand plane or card scraper on one side and then run it through the planner to flatten and smooth the other side.
Add the Finish
As you can see in the photos the Hazelnut color blends perfectly with walnut and the void is completely filled. When it comes to finish, just about any type of finish that you would typically use in woodworking will also work on the epoxy.
Thats all and I hope you enjoyed!


